Mastering Remote Connect Raspberry Pi: Your Ultimate Guide
Listen up, folks. If you're diving into the world of Raspberry Pi and want to unlock its full potential, mastering how to remote connect Raspberry Pi is a game-changer. Whether you're tinkering with home automation, building a media center, or setting up a server, remote access opens the door to limitless possibilities. So, buckle up, because we're about to deep-dive into the ins and outs of making this happen.
Connecting remotely to your Raspberry Pi might sound intimidating at first, but trust me, it's not rocket science. With the right tools, a bit of know-how, and some patience, you'll be controlling your Pi from anywhere in no time. This guide is designed to walk you through every step, ensuring you're equipped with the knowledge to troubleshoot and succeed.
Let’s face it, the ability to access your Raspberry Pi remotely is a superpower for makers, hobbyists, and professionals alike. Imagine being able to manage your projects without being tied to your physical setup. Sounds awesome, right? Stick around, and we'll make sure you're not just learning but also becoming an expert in the process.
- Hannahowo The Rising Star In The Music Industry You Cant Ignore
- Hdhub4u Hot Your Ultimate Guide To Streamlining Entertainment
Why You Need to Remote Connect Raspberry Pi
Alright, let's talk turkey. Why should you even bother with remote connect Raspberry Pi? Well, here's the deal: remote access isn't just a cool feature—it's essential. Whether you're a tech enthusiast or a professional developer, having the ability to interact with your Pi remotely can save you time, effort, and frustration.
For starters, remote connectivity allows you to manage your Raspberry Pi from any location. No more running back and forth to check on your setup. You can monitor, update, and troubleshoot your projects from the comfort of your couch or even from across the globe. Plus, it's a fantastic way to scale your operations without needing multiple physical devices cluttering your workspace.
Key Benefits of Remote Connectivity
- Access your Raspberry Pi from anywhere
- Streamline project management
- Reduce hardware clutter
- Enhance security through controlled access
- Expand the functionality of your Pi
These benefits don't stop here. As technology evolves, the demand for remote capabilities grows. From smart home systems to IoT devices, the ability to connect remotely is becoming a necessity rather than a luxury.
- Vegamovies New Site Your Ultimate Destination For Streaming Entertainment
- Jeff Mason Reuters Spouse The Story Behind The Spotlight
Understanding the Basics of Raspberry Pi Remote Access
Before we dive into the nitty-gritty of how to remote connect Raspberry Pi, let's get the basics down. Your Raspberry Pi is essentially a mini-computer, and like any computer, it can be accessed remotely using various methods. The key lies in understanding the tools and protocols available to you.
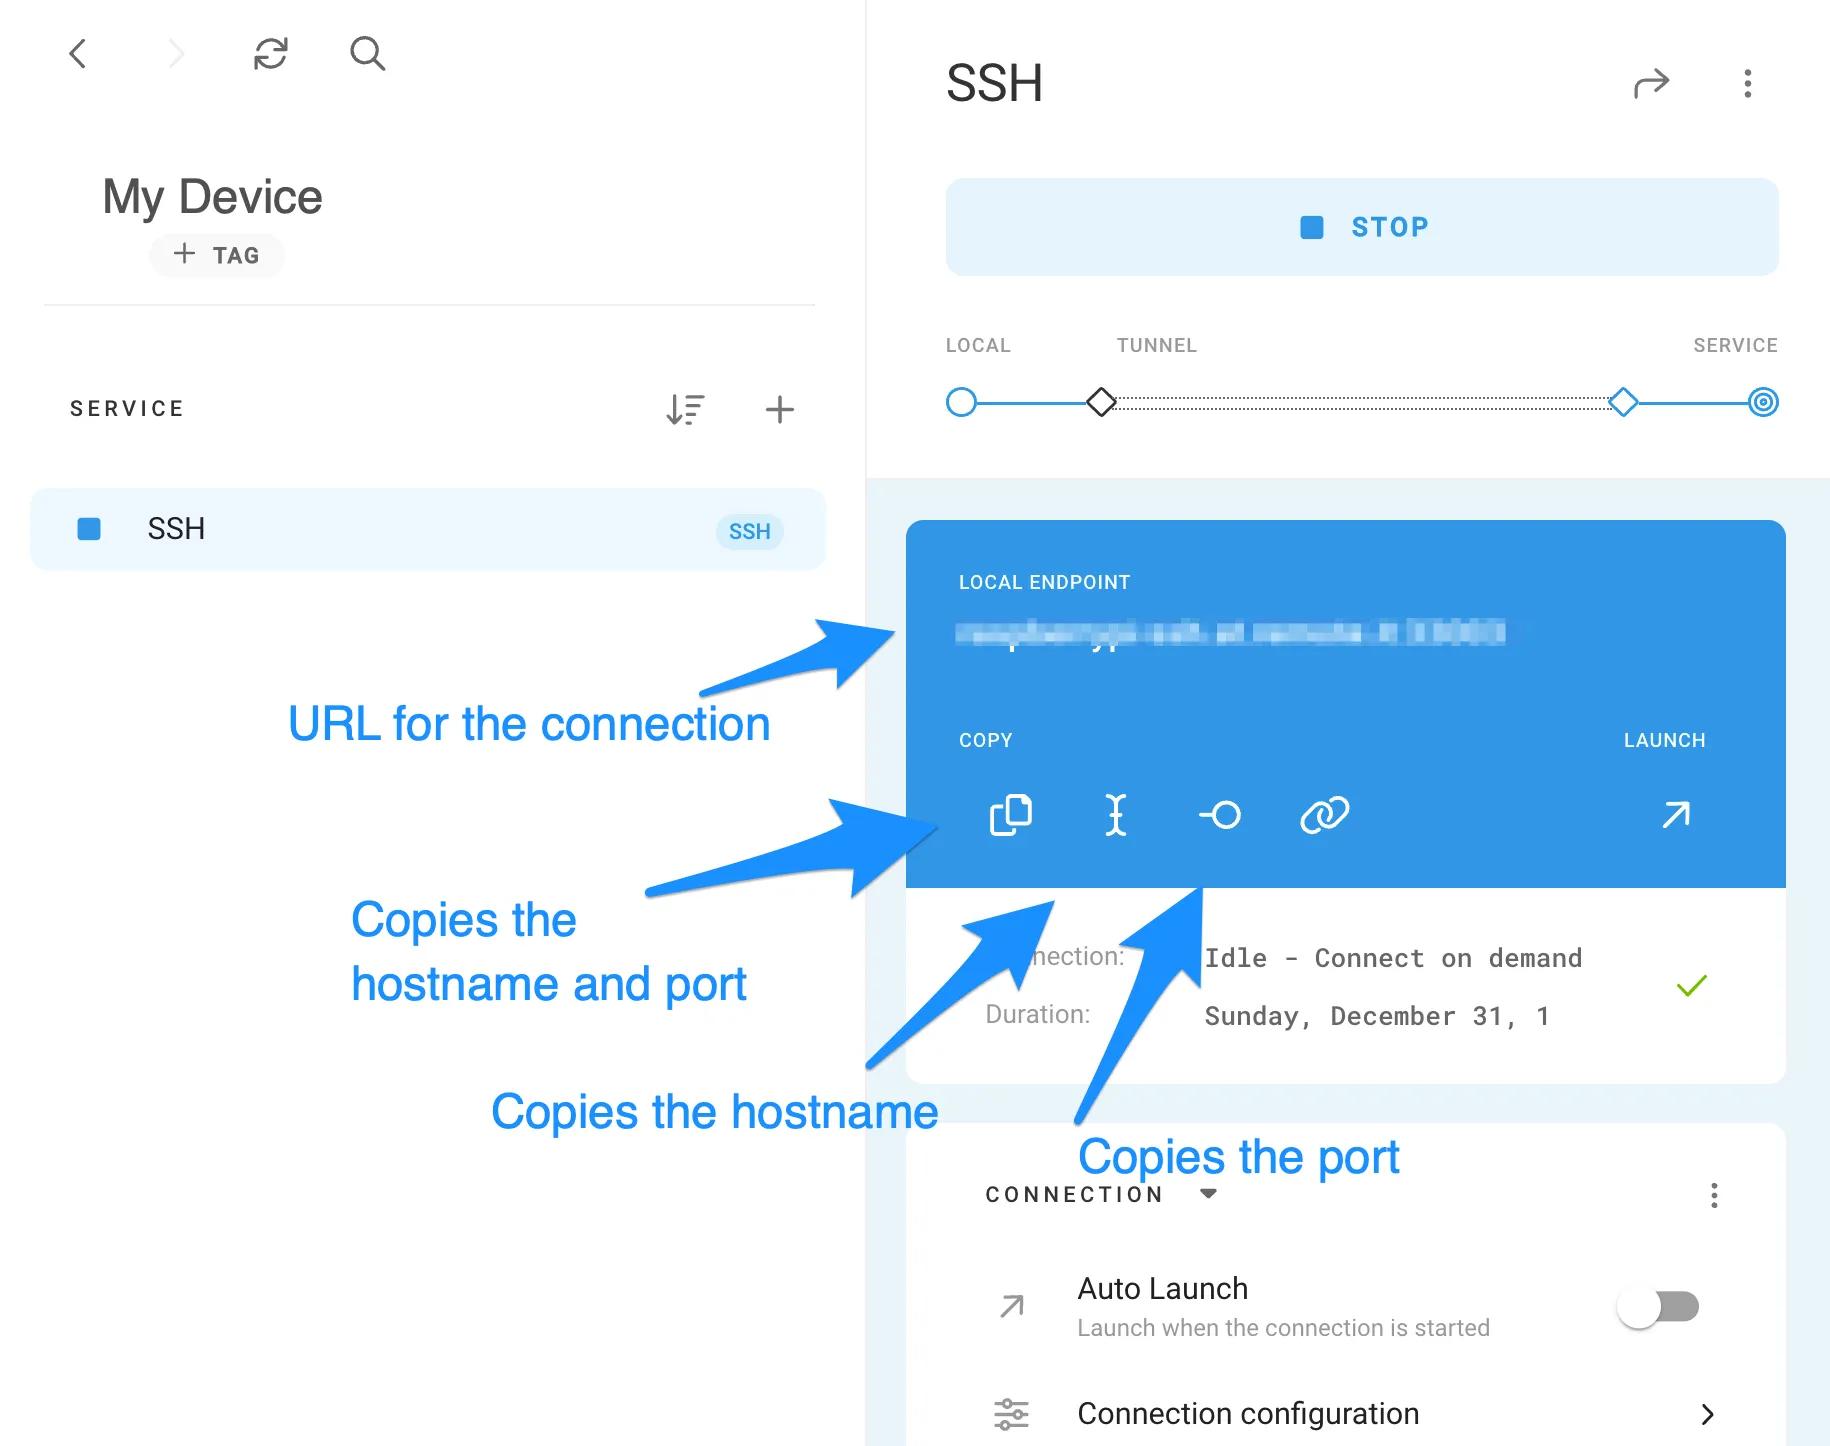
One of the most common methods is using SSH (Secure Shell), which allows you to access your Pi's command line interface from another device. Another popular option is VNC (Virtual Network Computing), which enables you to interact with your Pi's graphical interface as if you were sitting right in front of it. Both methods have their pros and cons, and we'll explore them in detail later.
Tools You’ll Need for Remote Connection
Here’s a quick rundown of the tools you’ll need to get started:
- Raspberry Pi with an operating system installed
- A stable internet connection
- A secondary device (PC, laptop, or smartphone)
- SSH or VNC client software
Don’t worry if some of these terms sound unfamiliar. We’ll break them down step by step to ensure you’re not left scratching your head.
Setting Up SSH for Remote Connect Raspberry Pi
SSH is the go-to method for most Raspberry Pi users when it comes to remote access. It’s secure, reliable, and relatively easy to set up. Let’s walk through the process together.
First things first, you’ll need to enable SSH on your Raspberry Pi. This can be done by navigating to the Raspberry Pi Configuration menu or simply by creating an empty file named "ssh" on your Pi’s boot partition. Once SSH is enabled, you’ll need to find your Pi’s IP address. This can usually be done by typing "ifconfig" into the terminal.
Connecting to Your Pi via SSH
With SSH enabled and your Pi’s IP address in hand, you’re ready to connect. On your secondary device, open your SSH client (like PuTTY for Windows or Terminal for macOS/Linux) and enter the following command:
ssh pi@your_pi_ip_address
Replace "your_pi_ip_address" with the actual IP address of your Pi. You’ll be prompted to enter a password, which by default is "raspberry" unless you’ve changed it.
Using VNC for Graphical Remote Access
While SSH is great for command-line enthusiasts, some users prefer a more visual approach. That’s where VNC comes in. VNC allows you to access your Raspberry Pi’s desktop environment remotely, making it ideal for projects that require graphical interaction.
Setting up VNC is similar to SSH. You’ll need to enable it through the Raspberry Pi Configuration menu and install the VNC Server software. Once that’s done, download the VNC Viewer app on your secondary device and connect using your Pi’s IP address.
Tips for Smooth VNC Connection
- Ensure both devices are on the same network
- Optimize your VNC settings for speed and quality
- Secure your connection with a strong password
By following these tips, you’ll minimize lag and ensure a seamless experience.
Securing Your Remote Connection
Security should always be a top priority when it comes to remote access. Leaving your Raspberry Pi exposed to the internet without proper safeguards is a recipe for disaster. Here are a few steps you can take to secure your connection:
- Change the default password
- Use a strong, unique password for SSH and VNC
- Enable firewall rules to restrict access
- Consider using a VPN for added security
These measures might seem like overkill, but trust me, they’re worth it. A hacker gaining access to your Pi could compromise your entire network, so it’s better to be safe than sorry.
Troubleshooting Common Issues
Even the best-laid plans can go awry, and remote connections are no exception. If you’re having trouble connecting to your Raspberry Pi, don’t panic. Here are some common issues and how to fix them:
- IP Address Not Found: Double-check your Pi’s IP address and ensure both devices are on the same network.
- Connection Refused: Verify that SSH or VNC is enabled and running on your Pi.
- Authentication Failed: Make sure you’re entering the correct username and password.
If none of these solutions work, try rebooting your Pi and your network devices. Sometimes, a simple restart can work wonders.
Advanced Techniques for Remote Access
Once you’ve mastered the basics, it’s time to level up your game. There are several advanced techniques you can explore to enhance your remote access capabilities. For instance, setting up a static IP address for your Pi can make connections more reliable. Additionally, configuring port forwarding on your router allows you to access your Pi from outside your local network.
Another powerful tool is using a dynamic DNS service. This eliminates the need to remember your Pi’s IP address and provides a consistent way to access it, even if your IP changes.
Exploring Third-Party Tools
Beyond SSH and VNC, there are numerous third-party tools designed to simplify remote access. Tools like TeamViewer and NoMachine offer user-friendly interfaces and additional features that can enhance your experience. However, always ensure that these tools are secure and compatible with your setup before diving in.
Real-World Applications of Remote Connect Raspberry Pi
Now that you know how to remote connect Raspberry Pi, let’s talk about some real-world applications. The possibilities are endless, but here are a few ideas to get you started:
- Home automation systems
- Remote monitoring of IoT devices
- Setting up a personal cloud server
- Managing a media center from anywhere
Each of these applications leverages the power of remote access to create smarter, more efficient solutions. The only limit is your imagination.
Conclusion: Your Journey to Mastery
And there you have it, folks. You’ve now learned the ins and outs of how to remote connect Raspberry Pi. From understanding the basics to exploring advanced techniques, you’re well-equipped to take your projects to the next level. Remember, practice makes perfect, so don’t be afraid to experiment and push the boundaries of what’s possible.
Before you go, I’d love to hear your thoughts. Did this guide help you? Do you have any questions or tips to share? Drop a comment below and let’s keep the conversation going. And if you found this article useful, don’t forget to share it with your fellow makers and tinkerers. Happy hacking!
Table of Contents
- Why You Need to Remote Connect Raspberry Pi
- Understanding the Basics of Raspberry Pi Remote Access
- Setting Up SSH for Remote Connect Raspberry Pi
- Using VNC for Graphical Remote Access
- Securing Your Remote Connection
- Troubleshooting Common Issues
- Advanced Techniques for Remote Access
- Real-World Applications of Remote Connect Raspberry Pi
- Conclusion: Your Journey to Mastery
- Filmy4web Movie Download Your Ultimate Guide To Legal And Safe Streaming
- South Movie Download 2024 Your Ultimate Guide To Stay Updated
Raspberry Pi How to Connect Guide

How to Configure Remote Desktop on Raspberry Pi? TechSphinx

Raspberry Pi Connect remote shell access and support for older devices
